

June 11th, 2025
You’ve seen it before. A clean, well-lit product shot on a white background. Perfectly cut out. But once it’s dropped into an interior scene, it feels off. The product floats. Shadows clash. Reflections don’t make sense.
Why? Because it wasn’t shot with AI in mind.
At Presti, we don’t see AI as a replacement for photographers. We see it as an upgrade to the creative toolkit. It adds speed, flexibility, and visual range, while freeing teams to focus on storytelling and art direction.
We’ve worked closely with top photographers, studio leads, and creatives to rethink the process. The result is a new workflow where traditional photography and AI work together, not in isolation.
Here’s how to elevate your studio setup and capture visuals that are ready for AI-generated scenes, right from the first shot.
White background has been the standard for decades. It’s clean, easy to cut out, and works well in traditional workflows. But when you’re generating AI scenes, it often does more harm than good.

Studio Setup Optimized for AI with a neutral gray background.
❌ Why white causes issues:
Blow out the edges
Flatten textures
Confuses AI depth perception
✅ Why neutral gray is better:
Adds soft contrast
Captures shadows more accurately
Looks more realistic on light wood or fabric
📸 Pro tip: Use a matte, neutral gray background. This helps your product blend naturally into any AI-generated lifestyle scene, no matter the lighting or color palette.
2. Light the Room Like It’s Real Life
Lighting is one of the easiest ways to break realism. If it’s too harsh or misaligned, your product won’t sit naturally in the scene. Our AI builds the background lighting based on the shadows and highlights in your silo shot. So if the lighting is flat, the final image will not have as much dynamism as one from a silo shot with directional light.
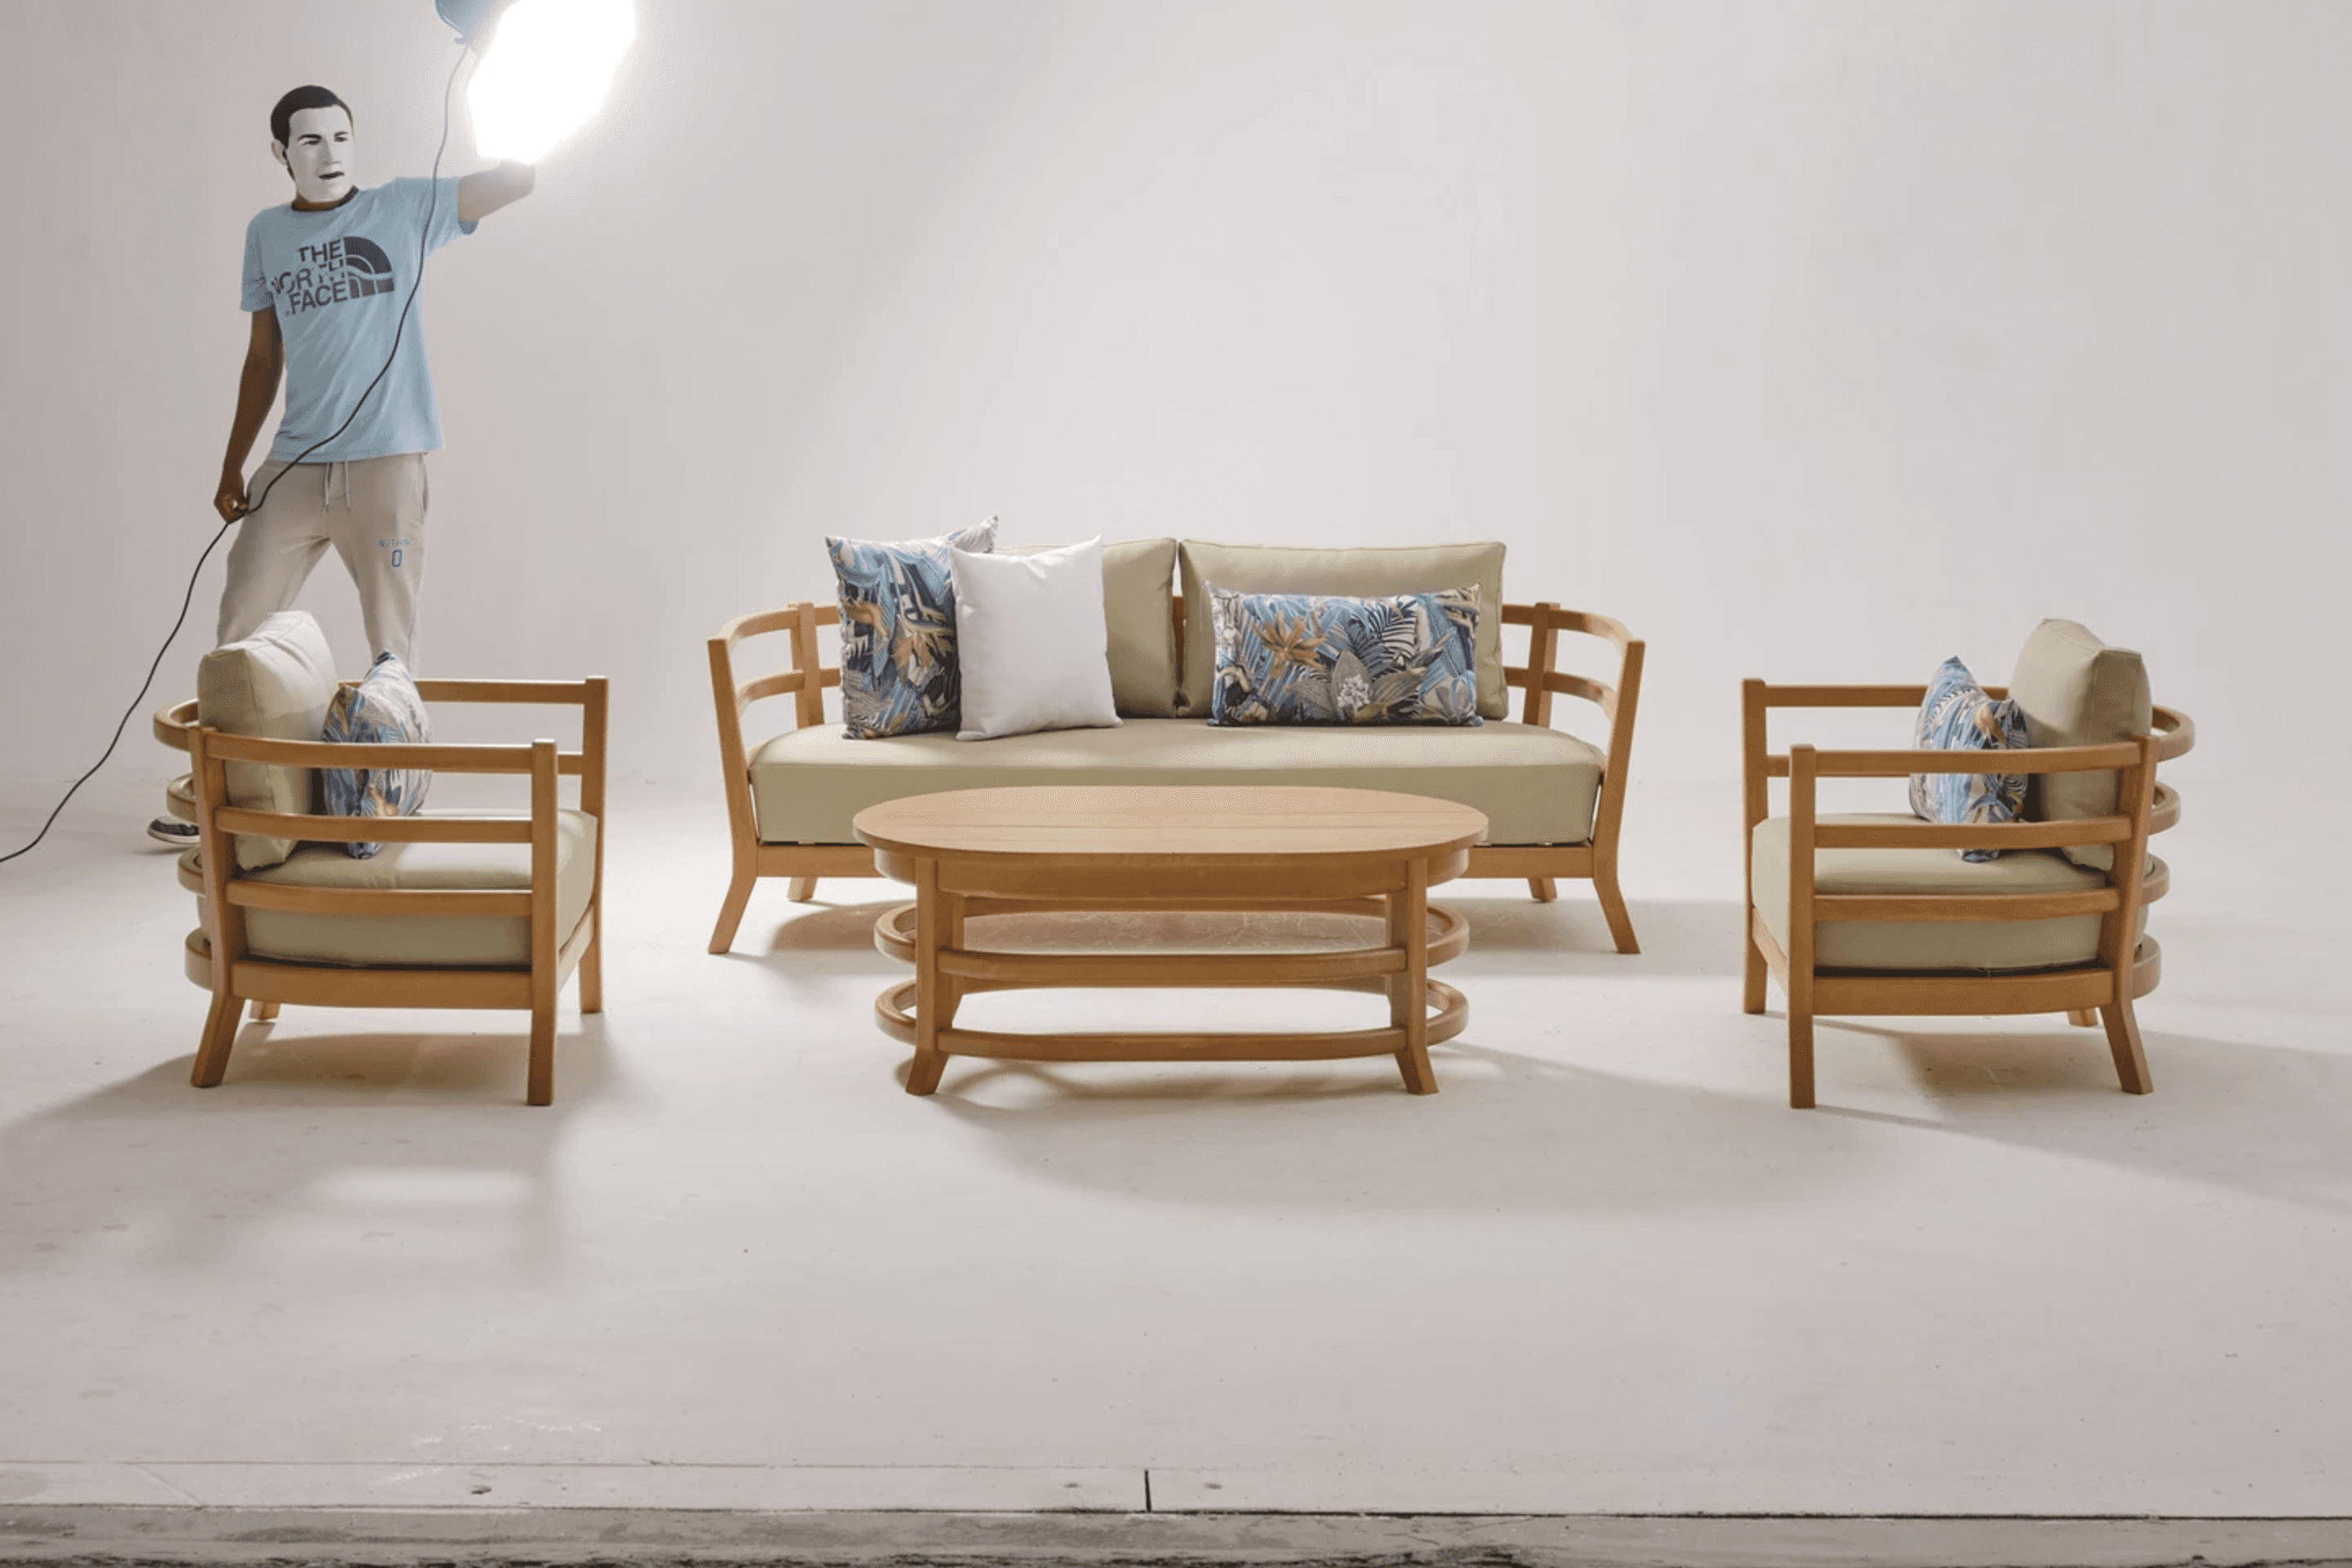
A Presti AI customer using directional lighting to mimic sunlight on an outdoor sofa set.
✅ Best practices:
45° key light mimicking natural light
Use soft diffused lighting (softboxes + reflectors)
Block reflective noise with flags
📸 Pro tip: Create “relight-friendly” by not over-doing it. Our AI can easily extend or adapt.
3. Match Scale and Angle
A sofa shot from above won’t work in an AI-generated scene that you want to be built at eye level. Perspective matters. If your angle, scale, or framing is off, the product won’t sit naturally in its environment. It might look warped, oversized, or simply out of place.

Studio Setup Optimized for AI with eye-level camera setup.
❌ What to avoid:
Inconsistent angles & height
Wide-angle distortion
✅ Aim for:
Camera height: 60” (152 cm)
Consistent angles across product lines
Clear, replicable framing
📸 Pro tip: Shoot at 4000px minimum. That's the HD input for Presti’s AI engine.
4. Stage Your Products Together
Pair your chair with your side table and your floor light to create rich, immersive scenes that highlight your full collection. For retailers and manufacturers, this approach reflects how products are actually used and helps generate stronger, more versatile visuals.
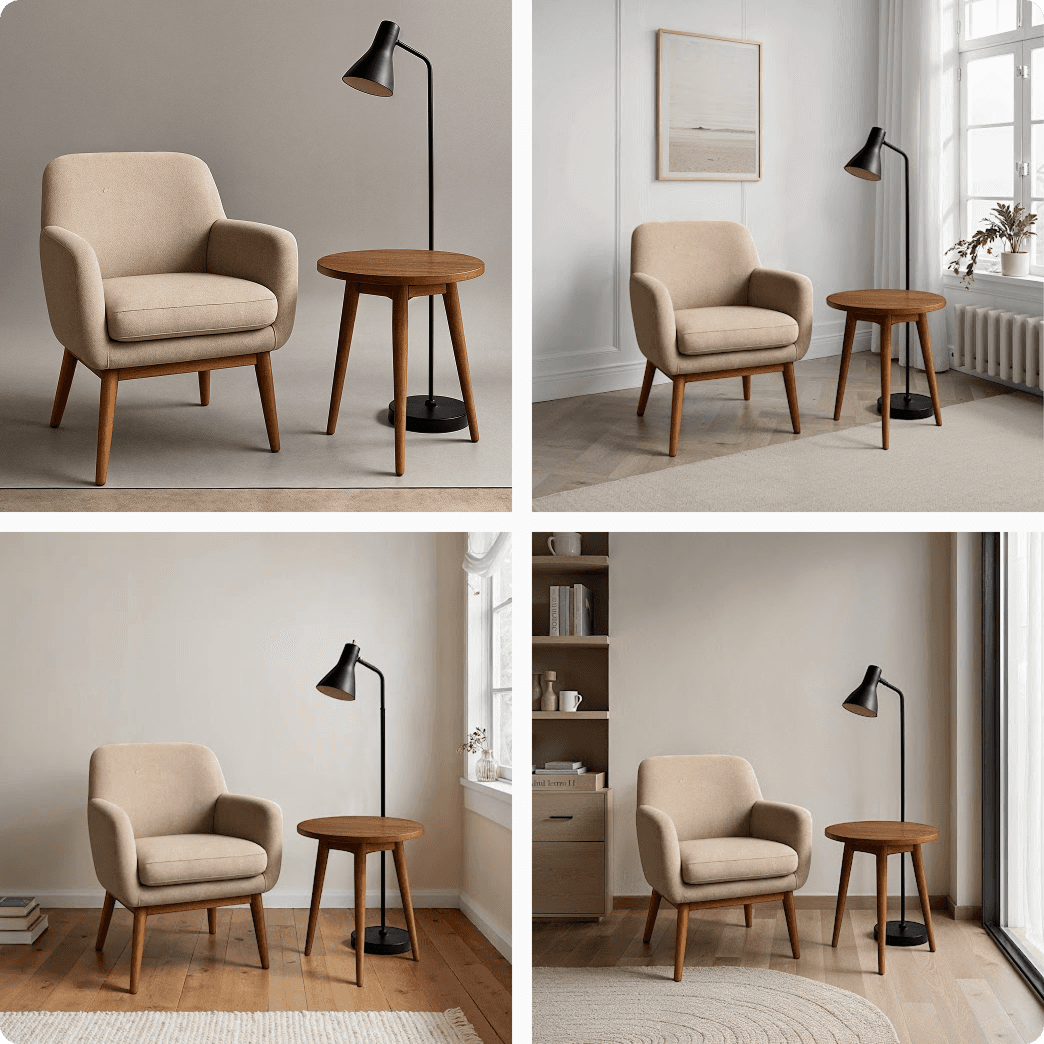
Presti AI generated background scenes with original studio photo (top left).
❌ What to avoid:
Inconsistent positioning between items in the same frame
✅ What works better:
Shoot in sets, such as an armchair with a coffee table and a lamp
Keep lighting, angle, and background consistent across all items
Style the group so it feels cohesive and realistic
5. One photo. Multiple scenes
Traditional photography often aims to capture one polished image per setup. But with AI in your workflow, a single well-planned shot can unlock dozens of variations. The goal is not to shoot more but to shoot smarter.
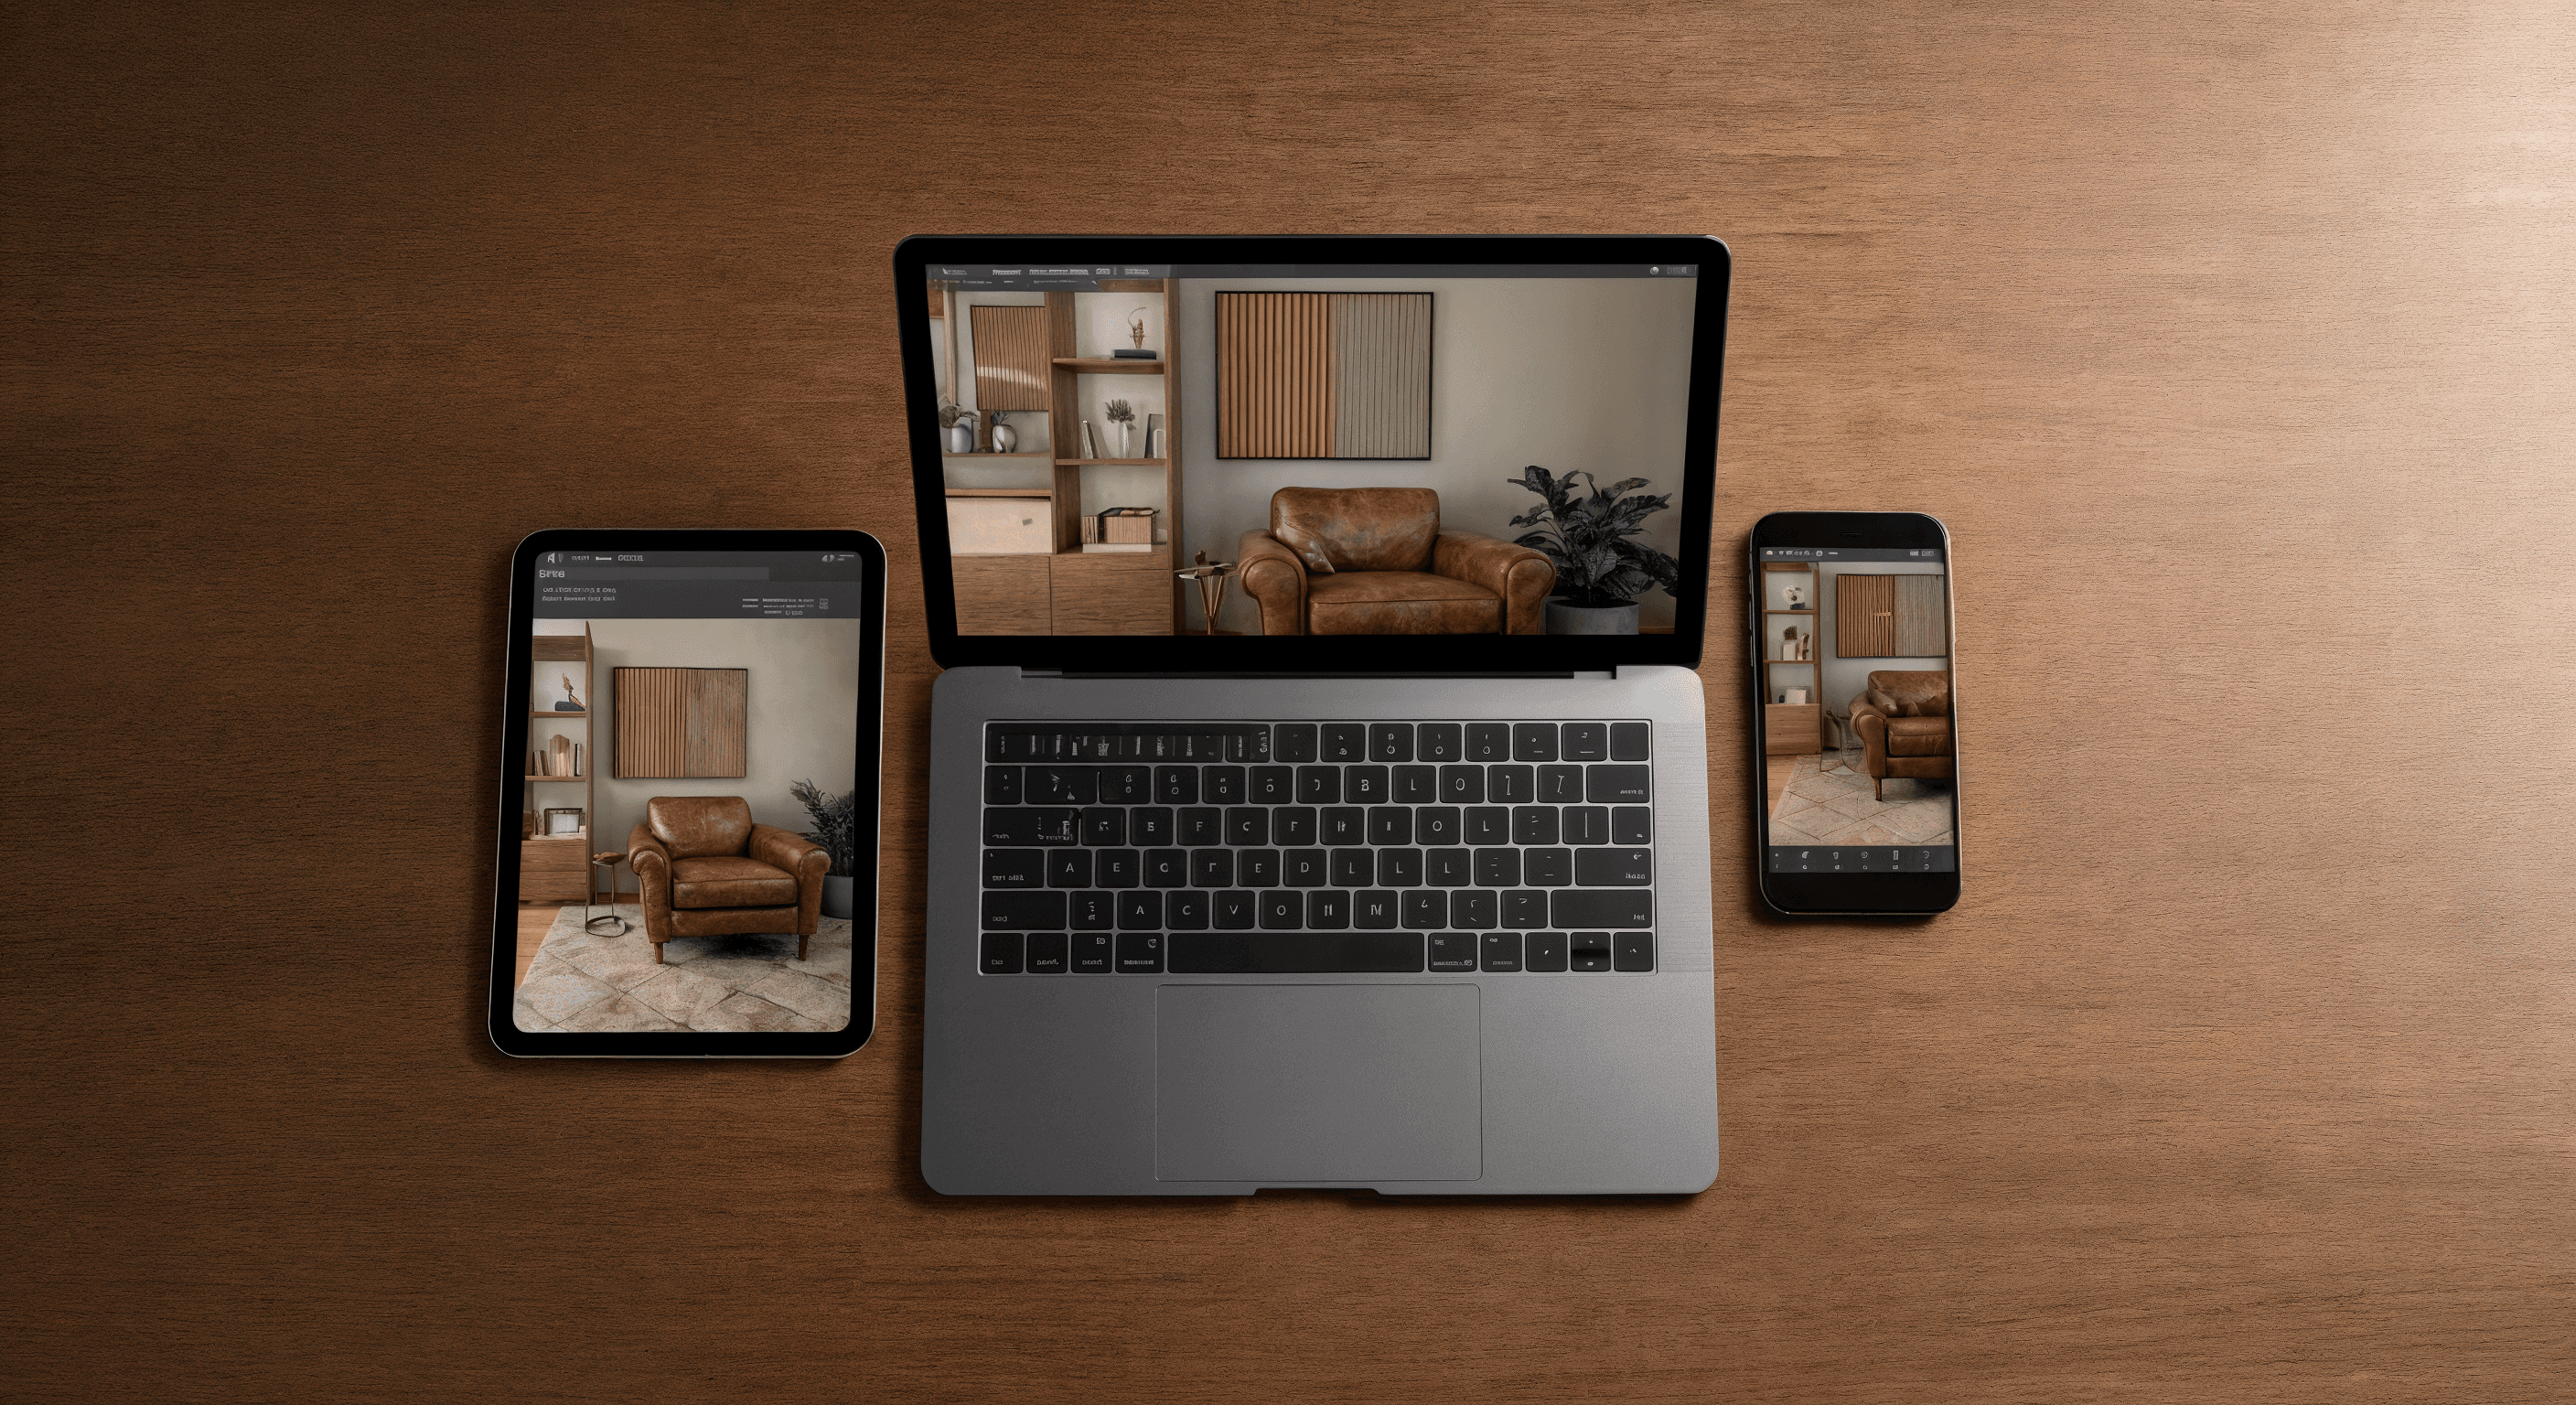
Presti AI generated background scenes with original studio photo (top left).
❌ What to avoid:
Shooting every variation
Over-produced background that AI can easily generate
Spending time on cutouts and repetitive framing
✅ What works better:
Capture clean, versatile angles that AI can extend or adapt
Focus on lighting, styling, and scene clarity over quantity
Design each shot to serve multiple channels and use cases
📸 Pro tip: One well-executed product image can fuel an entire campaign. With the right composition and setup, AI can generate lifestyle scenes, close-up details, and format variations for web, social, print, and marketplaces. Plan each photo with creative reuse in mind.
[Bonus Tip] Technical Checklist for AI-Optimized Output
📐 Resolution:
Shoot at a minimum of 4000 pixels to preserve detail
Export versions up to 8K resolution when needed for print or large displays
Keep cutouts clean and consistent, with a maximum size of 4K
💡 AI Relighting:
Adjust lighting digitally without reshoots
No added cost or production time
Results stay natural and consistent with the original scene
📥 Deliverables:
Include wide, medium, and detail shots for each product
Provide cutout versions with natural shadows
Cover all key use cases: web, social media, print, and catalogs
